Every year Northland hosts the Battle of the Bands. We produce a DVD of each bands live performance. The winning band also gets $300 and to head-line a show at the church in the summer. This year's Battle of the Bands was awesome! We had some amazing bands and we built and projected onto one of my favorite sets we have ever done. Our original concept was to build a set comprised of different sized video screens that could be mapped individually with separate content. Below is some of the information on what we came up with this year. Enjoy!


Last year we built a huge set and covered it with moving lights (Encore Concert). This year we wanted to go with a much cleaner look. We still wanted to have lots of flexibility though. That's why we decided to do projection. We built a bunch of projection surfaces to map to. Here are some pictures of the construction and pre-planning.


We built the frames out of 2x4s that we pre-cut and painted white. We then covered the frames with white muslin. We spent about $200 on lumber and $200 on fabric. We used 120" White Muslin to cover our frames (our widest frame was 10' for this reason). Our original plan was to use spandex, but it was going to end up 3 to 4 times the fabric cost. We used staples to attach the fabric and taped the edges to keep them clean. We added self tapping eye hooks to attach the screens. We hung the screens from our upstage truss with safeties and heavy duty carabiners.

Our next step was to focus the projectors and make masks. Below you can see us mid-way through lining up the projector merge. You can also see the merged output with a solid white graphic coming from the server.


The pictures above are taken very near the lens of the projectors. I merged these pictures to create our mask in a program called Paint.net (like free simple photoshop). I merged the 2 photos to 2048 x 768. That is the resolution of 2 DL-2 images side by side, so I figured that would be close. Once I had my merged image, I loaded it into the server to test and make sure it all aligned. The photo did not align correctly, but with a little global scaling and positioning, I got it into position.
Once it was close I started the process of tweaking the masks. This required moving a few of the panels in, and a few down. I used the magic wand and cut features to move the panels in the photo. I did this then, re loaded it to the server. It took me 7 times to get an acceptable match. Each time I would cut out a slight portion or move a panel a bit, then upload and try again. Here is a snapshot of that process.

One very important thing is to make sure each panel is on a separate layer. This enables you to turn off and on panels to make masks that contain singular panels, odds vs evens, and even grouped ones like the ones below.
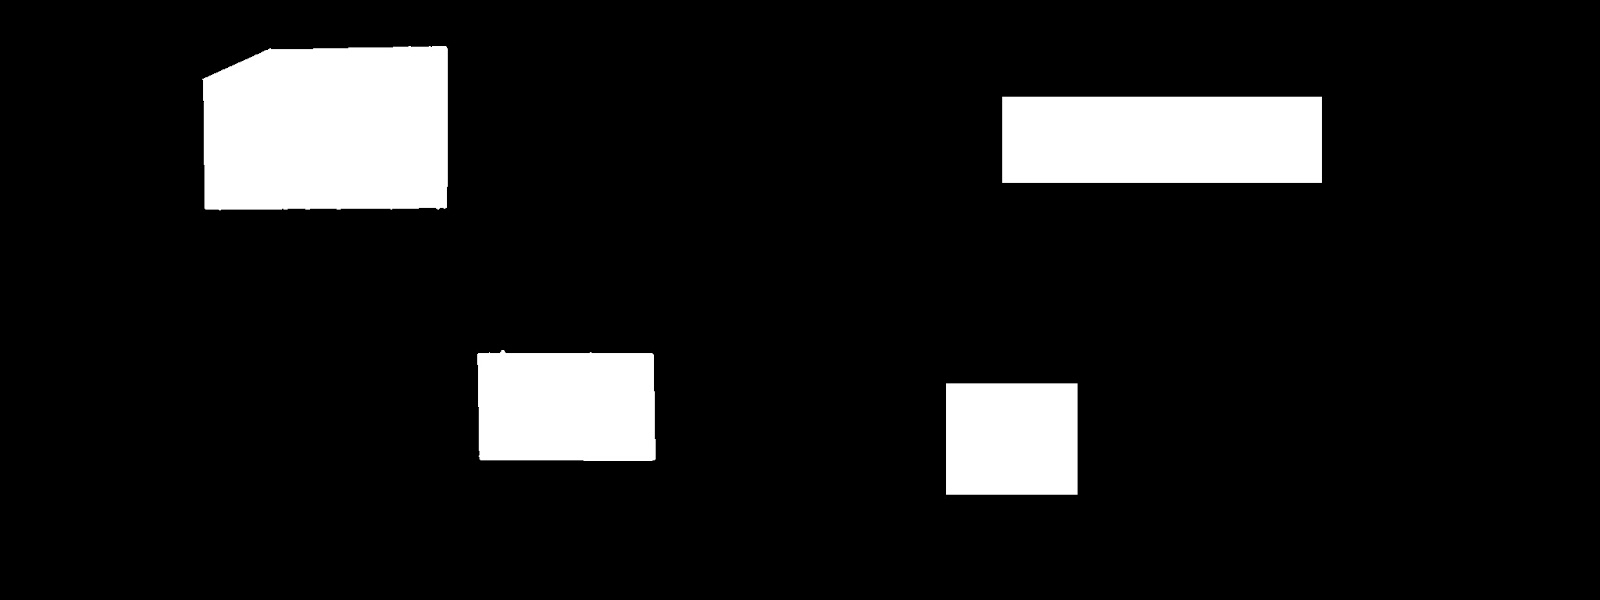


Above you can see the finished full mask. I used a dimmer effect in conjunction with the 4 partial masks to make the really cool effect in the video below.
Below are some pictures from the I Am Third youth worship service the Wednesday before.


Below are some pictures of some of the looks we came up with for Battle of the Bands. You can also see the Midi keyboard we used for strobes, hits, and some of our movement effects.


To end, here is a video of the set in action from Wednesday. I am glad we could serve the Lord with this set.