Every year Journey does an event called VBX. Essentially we have a next level vacation bible school. This year the theme was Superheros. So for our scenic and lighting design we tried to turn our auditorium into a super hero training facility. One of our craziest challenges was that the event started Tuesday am with Monday am rehearsals. With the scale of this set / decor you will see the challenge in getting it set mostly overnight.
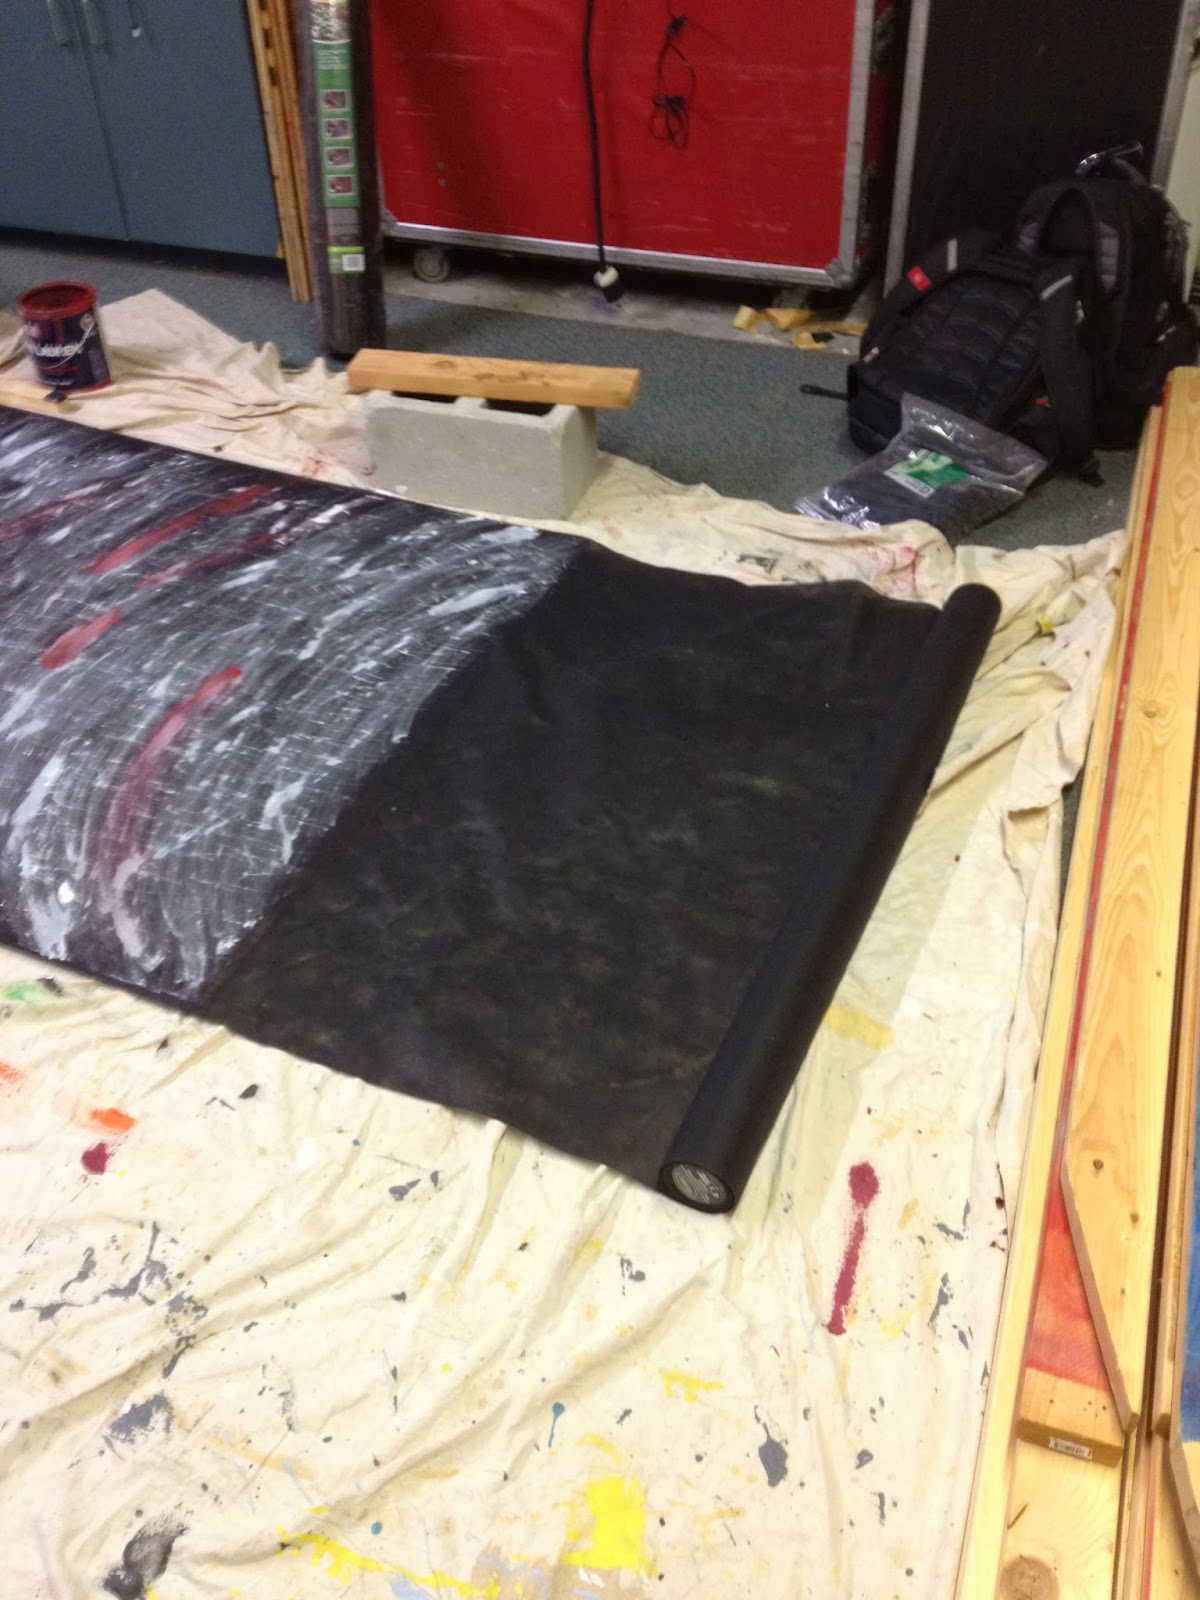
In our lobby, we covered all of our lower windows with a cityscape. We made this out of black coroplast. We traced it with white paint pens over a projected image.
Also to build some excitement as you enter the room, we built a unreasonably large entry way.
I think we got pretty close to our desired goal. (above)
We built scenic panels from 7/16 osb and 2"x4"s. I drew up the truss structure in Vectorworks (CAD). It is based of a truss structure we did for
DDD at Northland. We rented all the truss for the entry way (and our extra lights from Integrity Lighting in Tulsa). In the void created in CAD I laid out our entry way panels. I drew in 4' x 8' breaks, and we ran with it.
As stated we made 4' x 8' flats from OSB and 2x4 frames. We found that painting the OSB helped diminish the texture of the OSB some, however it still looked a bit rough close up. In retrospect we should have used a flat type surface like masonite or Plywood. We almost completely built this part of the set before the event and just assembled onsite.
Did I mention it took a whole lot of grey 2 x 4s?
We painted the OSB a flat grey. We laid out the center sections and painted stripes horizontally down them with some gloss grey and a dark copper color (should have used different colors... you have to make mistakes to learn). For the JK logo we projected the image onto the flat and traced it with sharpies. Then it was easy as color by numbers. Note: Tonya did 90% of this painting, because she is AWESOME and so much more steady handed than me. She made it look like a printed graphic... I am still pretty impressed by it. It is in our warehouse still as a matter of fact!
We used the flats to build the "walls" from the bottom up, We attached them to each other with 3" screws. Once the entire wall section was built, we attached eyehooks to it and hung (more like braced) it with safeties. We also attached the structure to the truss with some 2x4s and braced it in the back.
We cut 2" black coroplast strips to face the edges of the scenic panels. It worked well and gave us a really clean look (Good call Marty!). We also bought a bunch of things to accent the entry way. We used painted gutter splashes, conduit, hazard signs, and painted logos. My favorite part though was the bio hazard tubes. We cut 6" PVC pipe and caps in half and painted them bright green. Then with a stencil painted on the yellow Biohazard sign. We used a bit of glue to attach them.
Fun Fact: The set actually said "Superhero Training Facility" at the beginning, however I spelled it wrong...... lets just say we had to make a last minute improvement. =)
Inside the auditorium we did a lot to make the room look like a Super hero training base too. Our concept was to make the stage look like the command center and the seating area to look like the training grounds.
One of our simplest, easiest to build, most effective, and most reusable set pieces was what I like to call the "Cheese Grater" panels.
They are 3'6" wide x 8' tall 2x4 frames with a piece of steel lath attached to the back. Construction of these was very simple. We cut 45 deg. angles on the boards and used 3" screws to fasten them together. Then we attached the steel lath to the 2"x4"s with a hammer stapler. We spent more time painting than anything else. Simple but they lit up very well and we have them to use as a stand alone piece in the future.. We used them on the wings and horizontally from the truss uprights
Unfortunately I don't have a bunch of pictures form the set. Hopefully I will be able to dig some up in the future to add here.
To add some vertical dimension we put up some 20' truss towers. They also acted as supports for the horizontal Steel lath and a few police beacons as eye candy. To make them look more futuristic and pretty-like we uplit them with LEDs
We also attached a few 90 deg. sections of circle truss that we own to the uprights. They jutted onto the stage and gave a nice dimension (I thought it wouldn't work, but Marty was right. They worked awesome.)
We also hung yellow steel grates in the ceiling, as you can see in the picture below. They were red steel panels from a basketball cage at one point. That is, until we painted them on the lawn.
The lawn did not fare so well...
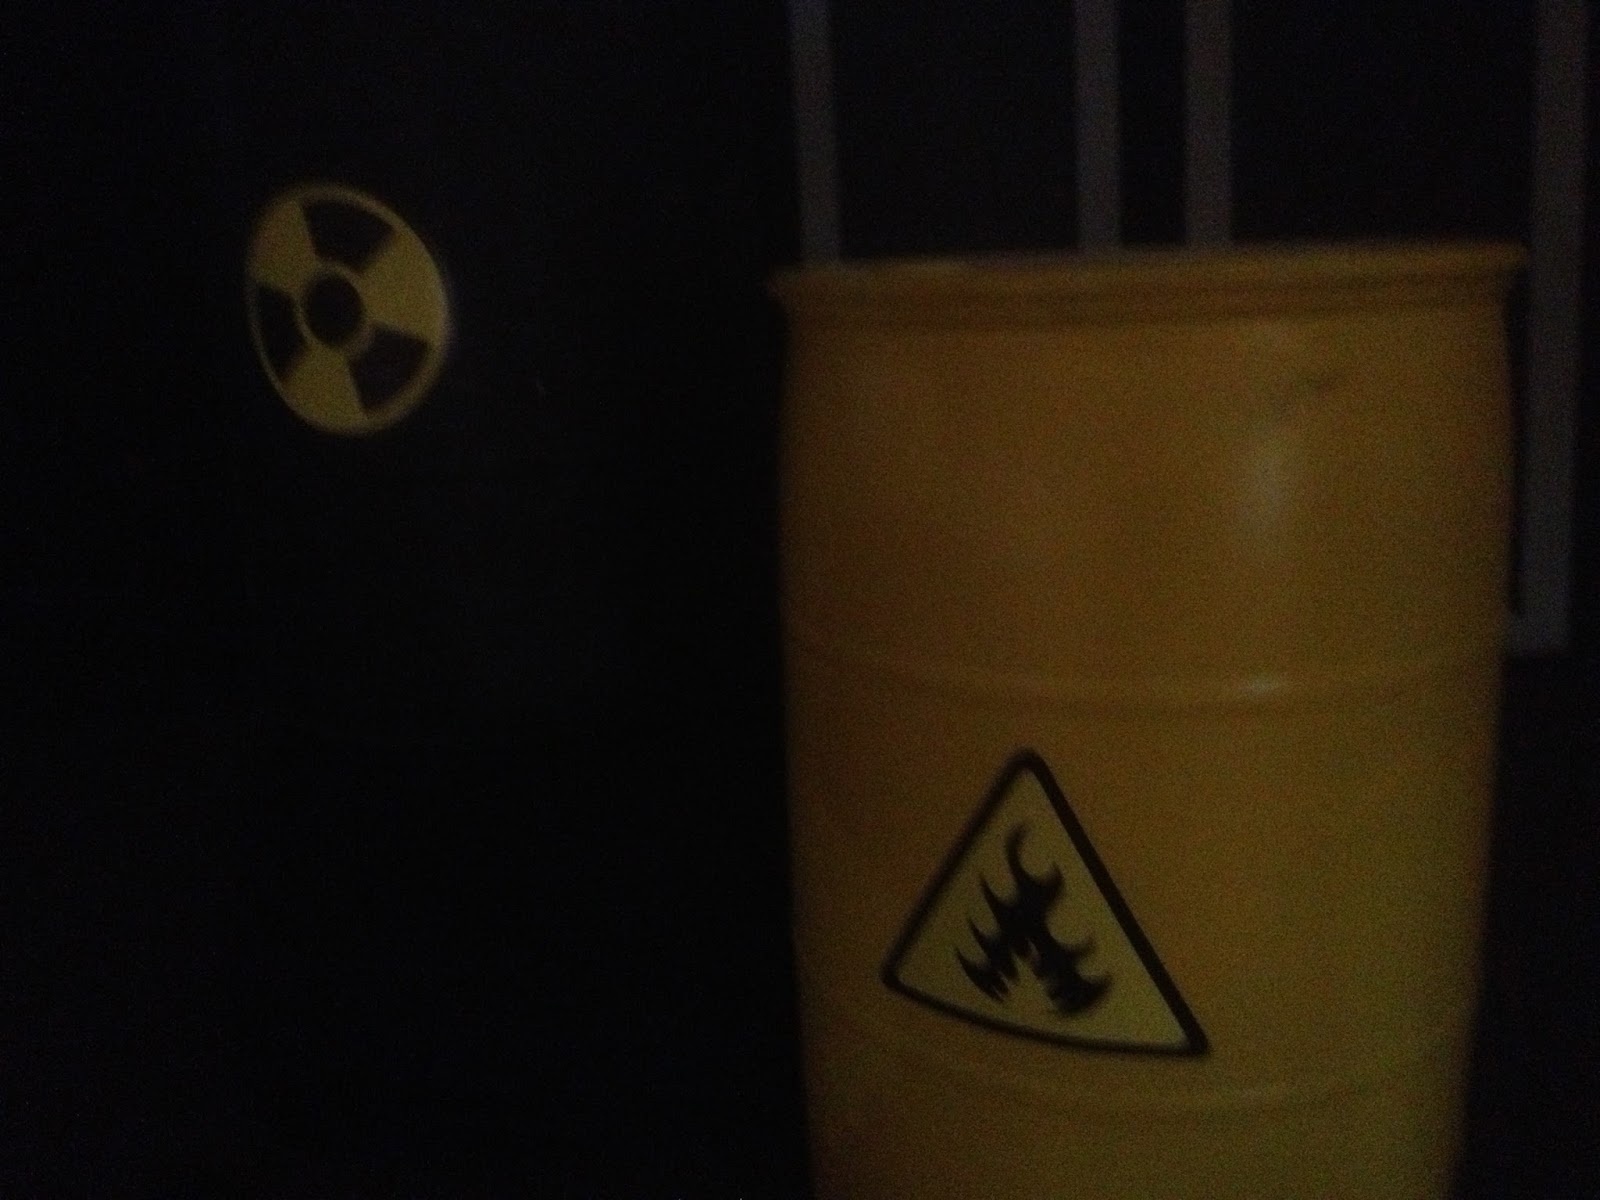
Another one of the cool elements we used were 8- 55 gallon drums. We got them donated and painted them yellow and black. With spray adhesive we glued on some Bio hazard, and explosive decals. (one of my favorite elements)
We also built a center piece for the stage. It was made to be the control center for our Superhero training facility. We built an angled console out of 2"x4"s that held 2 large LCDs on an angle. We also placed 2 LCDs behind the control center on stands. We ran content for them from an old IMAC and apple TV setup. We faced the 2"x4" frame with masonite that we painted grey.
We then sprinkled on a few extra touches. We added a line of I cove LEDs at the bottom of the TVs to give some futuristic flair. We also added some vents near the bottom to breakup the big span of Masonite. Another cool touch was the tape we used for trim. It was a reflective metal tape. Think smooth mirror ball tape. It looked fancy.
To round it out, we lit these items with some spare American DJ leds we have.
We also did a bit in some of the breakout rooms and the lobby. There was a newspaper rack from the Oklahoman in the lobby that had headlines of what the kids had learned that day. We also setup a newspaper office in The Studio. It is supposed to look like the Daily Planet and that character is Louise Lane. All the newspapers were donated by the Oklahoman too (they were nice enough to even deliver them). The desks we got donated from a bank. We tried to print windows to make the stage look more like an office (not sure if it was a success or not).
To round out the set in the main room we added 12 Mac 101s, 4 Mac 700s, 6 Martin Atomic 3000 strobes, and a Glaciator. It worked amazing and gave us some flexibility with lighting in the seating that we normally didn't have. Plus honestly strobes and low fog are cool (as long as they are used in the right context)
Above you can see the patent pending Oklahoma style sand bags =)
Dorian even helped me with this one =). During one song I let him run the Color Pro setup for the control panel LEDs.